
How to Deploy a Static Site using Github Pages
So you’ve built your static site, made it look pretty on your local computer, but now you want to go bigger. It’s time to deploy our website to the world so that other people can find it! In this guide, you’ll find a short tutorial on how to deploy your site onto the Internet. Let’s get started!
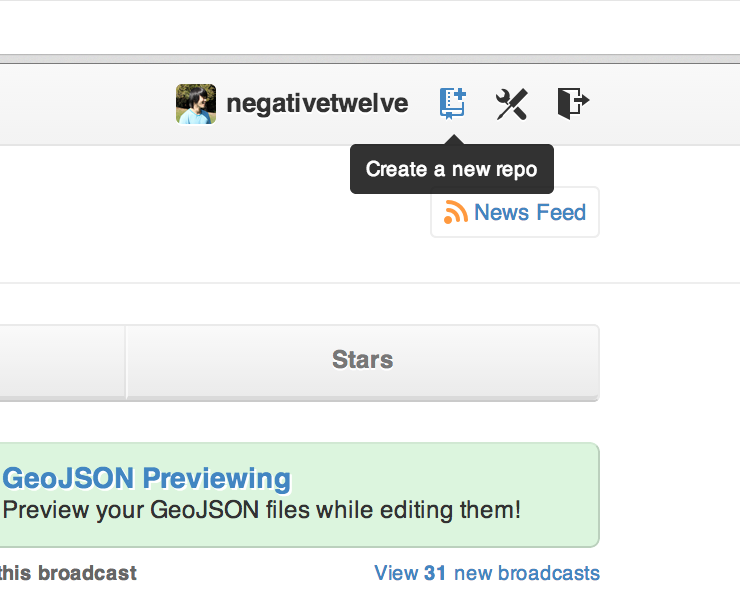
First, if you don’t have an account already, you should sign up for a Github account. We’re going to be using Github Pages, a free service provided by Github. On the home page, you should find a form that looks like this:

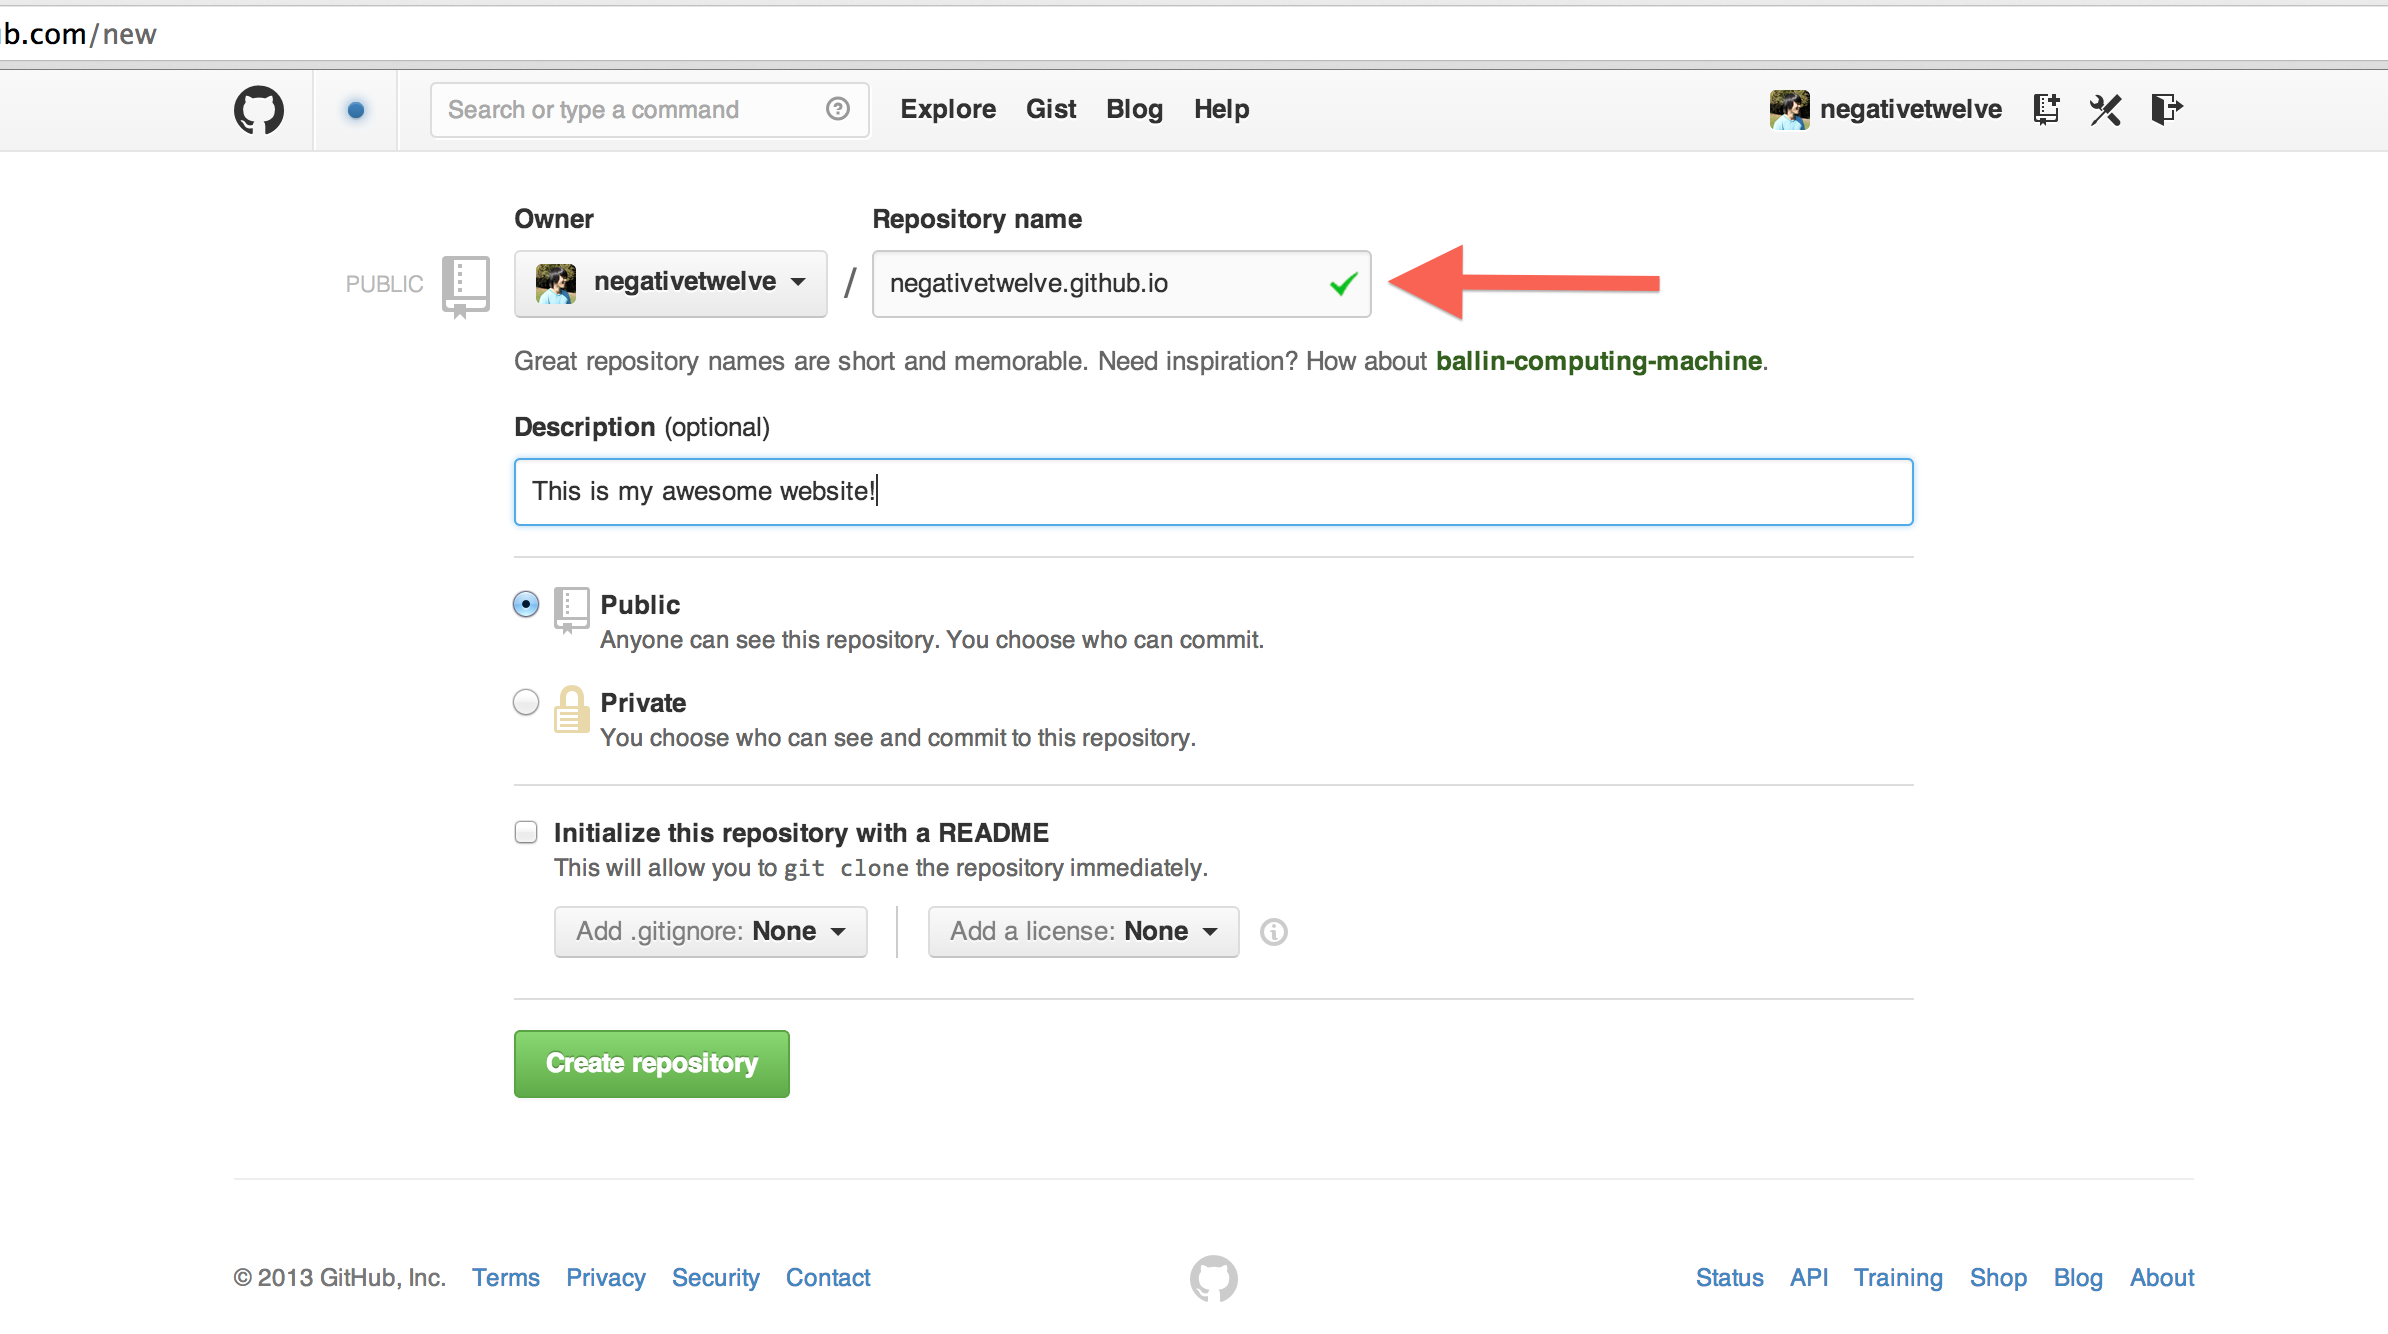
Fill that out and you should be good to go! Next, we’re going to create a new repository. You can think of a repository as a collection of files that you are putting on the Internet for others to see. You can find the “new repository” button in the top right hand corner of the screen:
Here’s an important step, we must name the repository <username>.github.io where you should replace <username> with your actual Github username that you just signed up for. For example, my login is ‘negativetwelve’ so my repository name is ‘negativetwelve.github.io’.
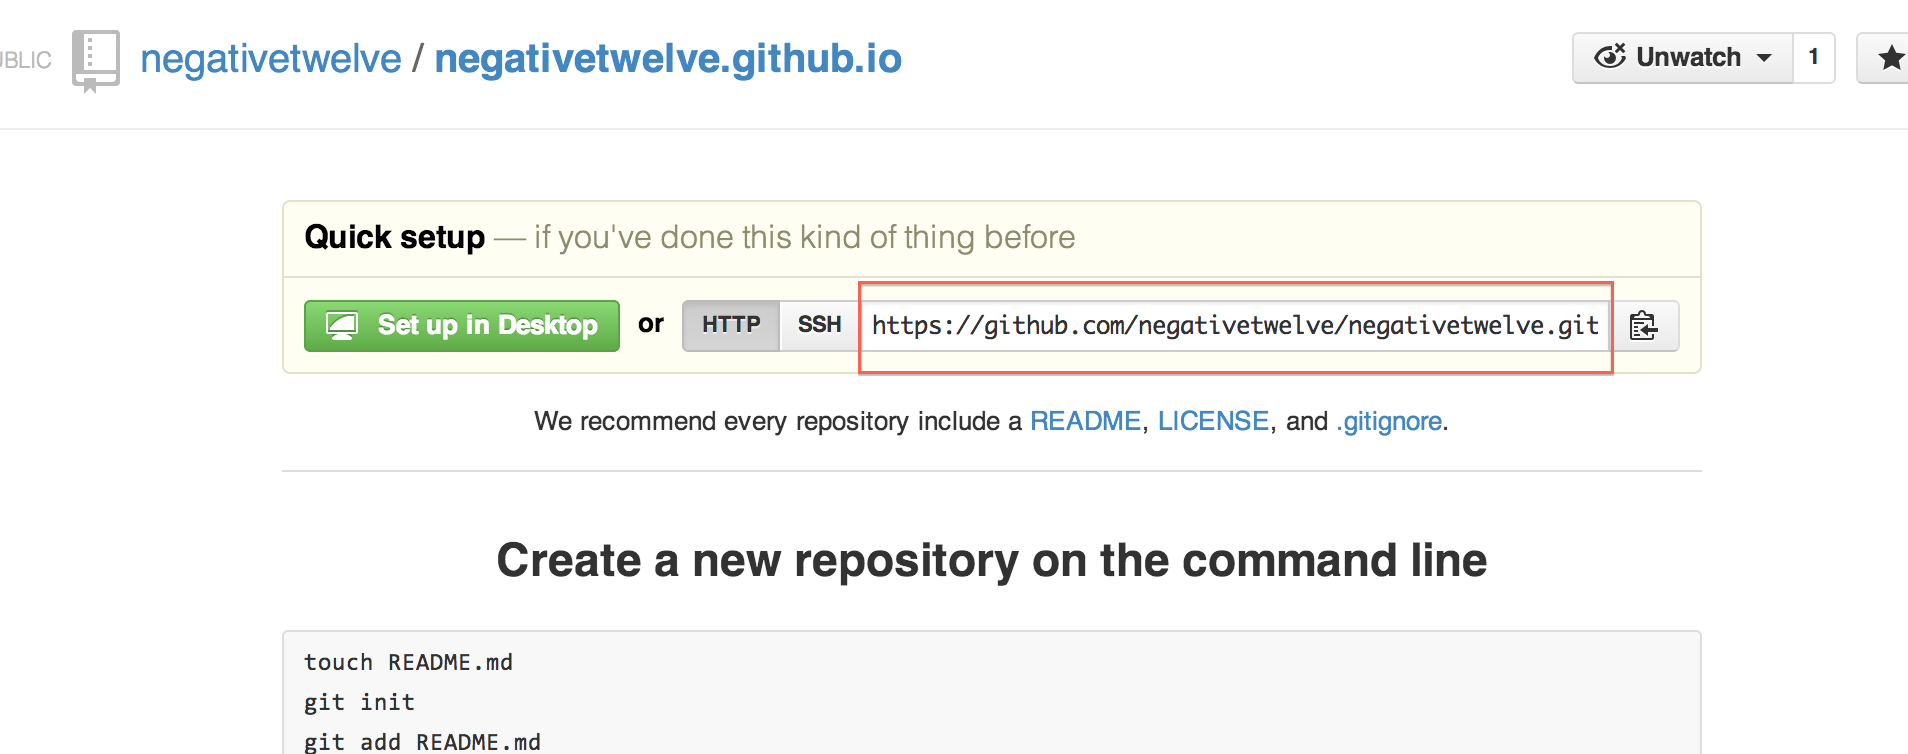
Now, when you created your repository on Github, it presented you a screen that looked a little like this:
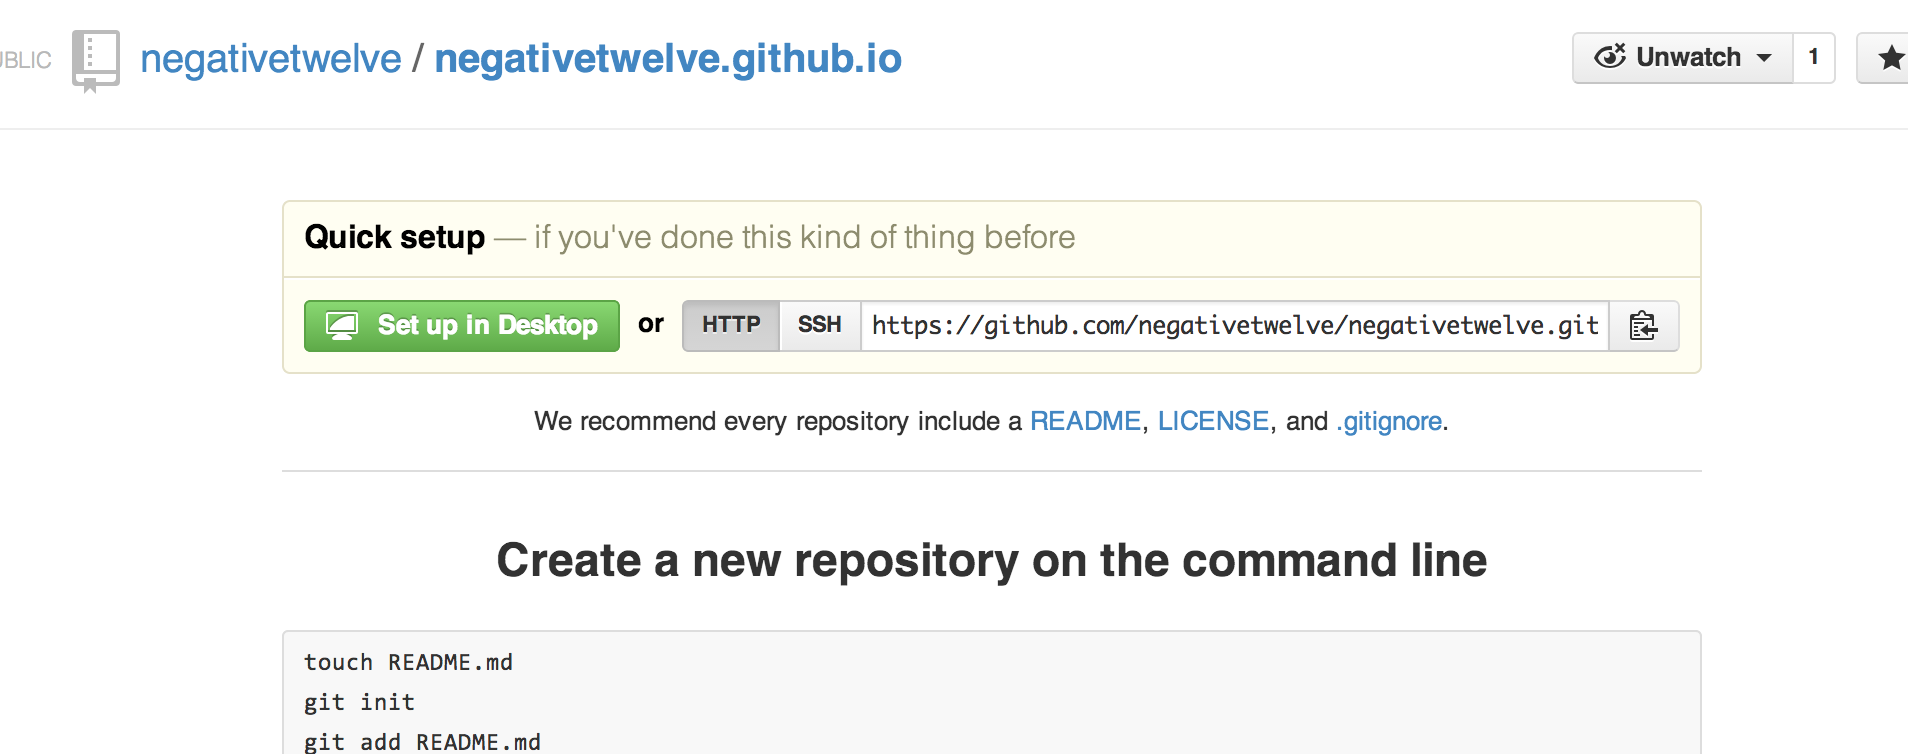
We’re going to go to that page and click on the https button which is located here:
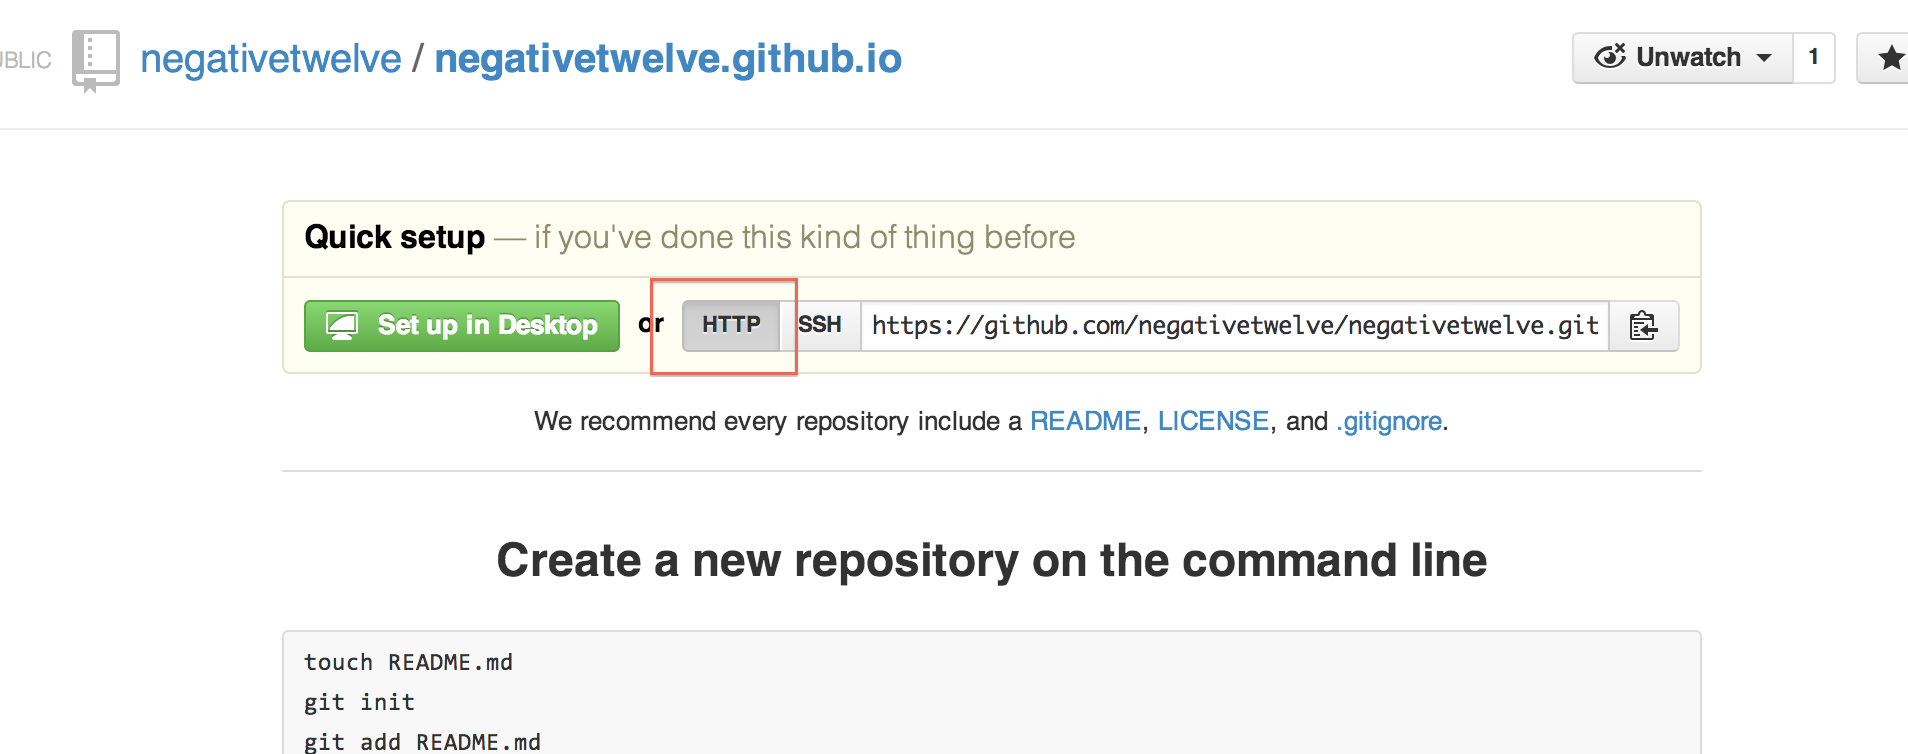
Then, we’re going to copy that address in the box. It should look something like this:
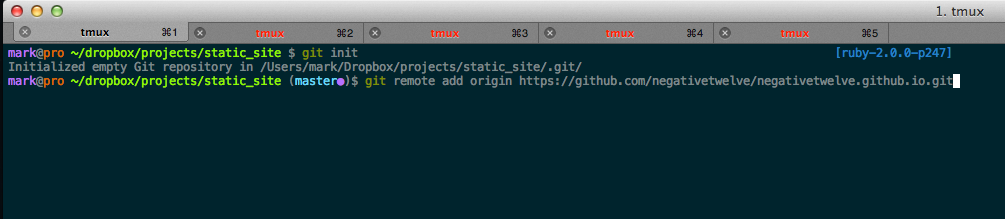
Now, we’re going to configure our local website that we just finished and get it ready to show to the world! Naviage to your website folder on your computer using ls and cd. Once you find the folder, you’re going to have to run two commands. The first is git init. This command gets your folder ready for the Internet by marking it as a repository. The second command is a bit more complicated. In short, it is telling our local files where to go – in this case we’re putting them in the repository that we just created. If you haven’t already, run the following two commands:
git init
git remote add origin https://github.com/negativetwelve/negativetwelve.github.io.git
where you replace all occurrences of ‘negativetwelve’ with your username.
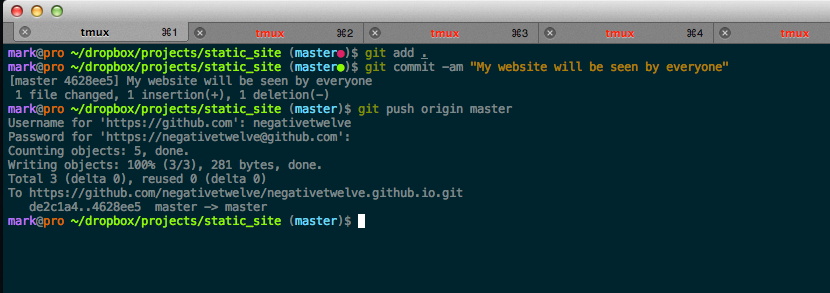
Now, we’re ready to show the world! Let’s run the last few commands to send our files to the Internet. Run the following commands:
git add .
git commit -am "Showing my work to the world"
git push origin master
If you went to the Git workshop, this should be familiar to you. But if you didn’t, we’re basically saying “Let’s push our changes to the master branch (which is the main storage for my files).”
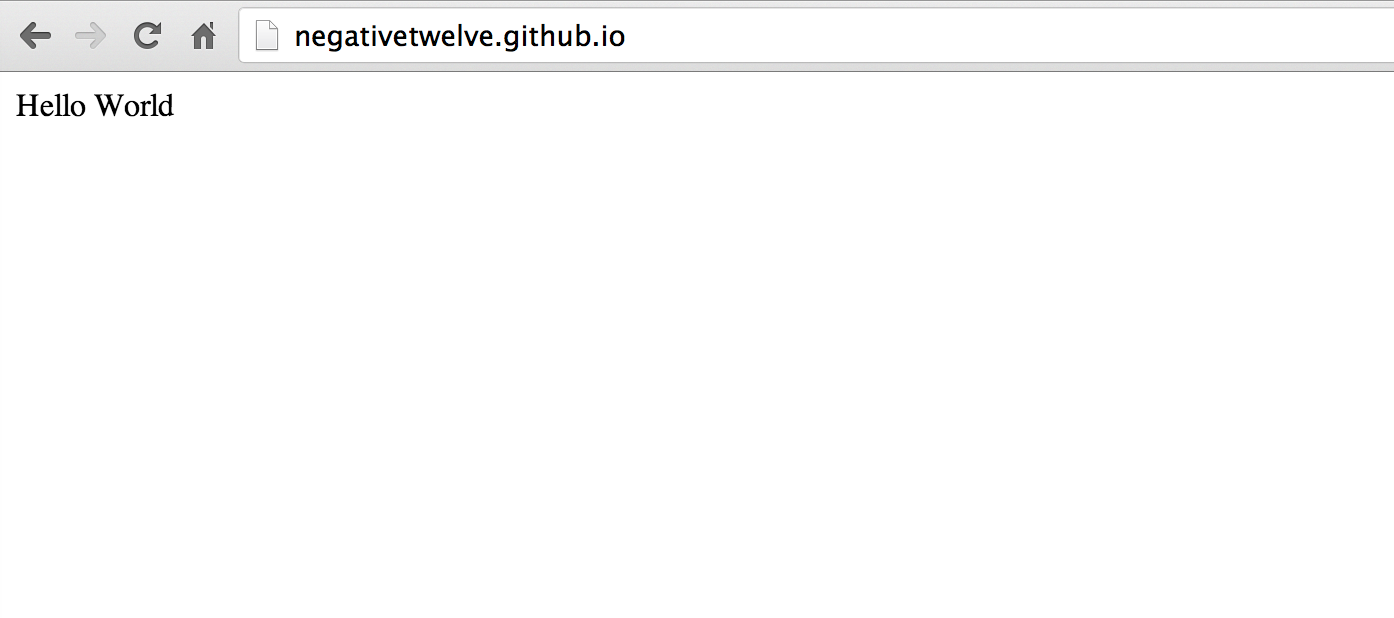
After running that command, we should be able to go back to Github and refresh the page. We should now see something like this:

And, if we wait about 2 minutes (sometimes it can take up to 10), we can navigate to http://<username>.github.io to see our website! Remeber to replace <username> with your Github username.
You can then navigate to http://username.github.io and view your awesome, static website!
Happy website making!
comments powered by Disqus